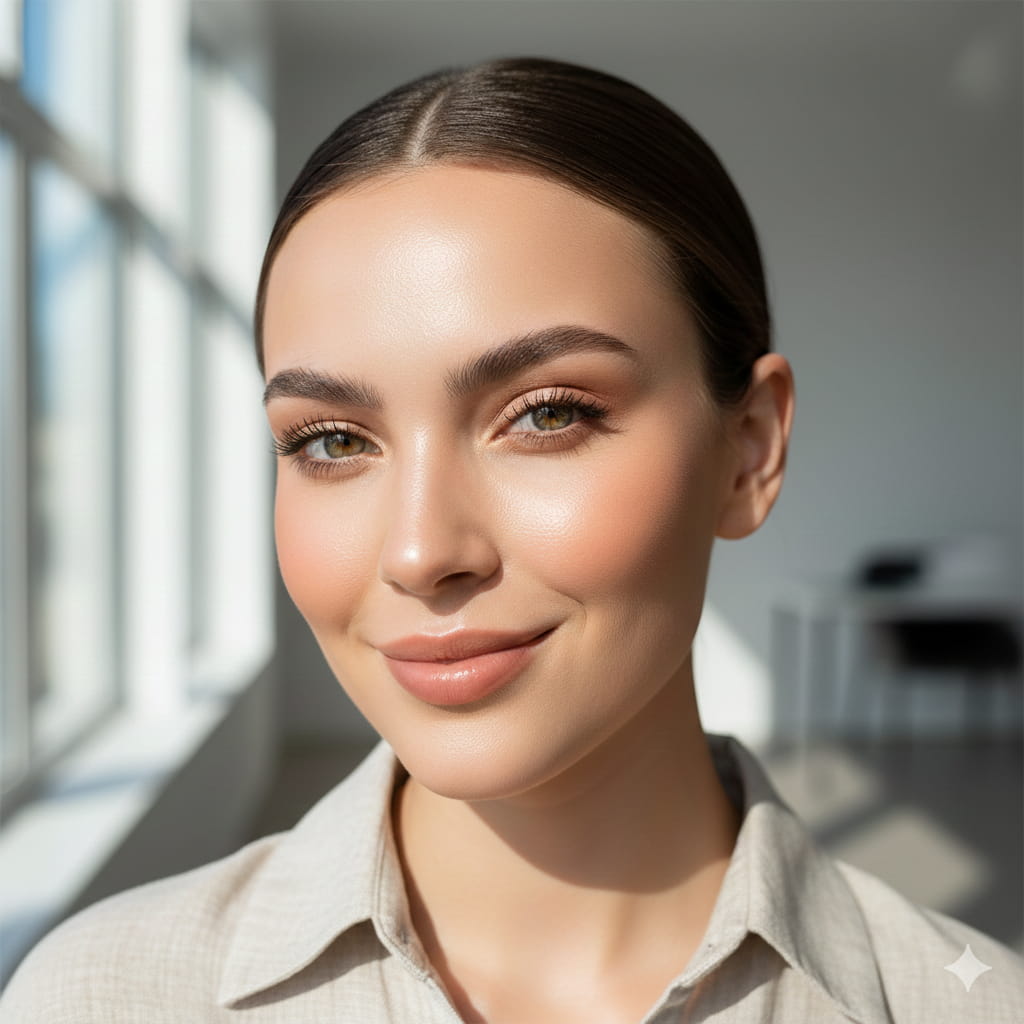
Have you ever looked at someone and thought, “How do they look so fresh and polished without looking like they’re wearing any makeup?” We’ve all been there. The “no-makeup” makeup look is the holy grail of the beauty world. It’s not about transforming your face into someone else; it’s about looking like yourself on your very best day.
Whether you are heading to a morning meeting in New York, running errands in a sunny suburb, or just want to feel a bit more “put together” for a Zoom call, a natural routine is your best friend. It’s quick, it lets your skin breathe, and most importantly, it’s easy to master.
In this guide, we’re going to strip away the complexity and show you how to achieve a radiant, everyday look that feels as good as it looks.
Step 1: It All Starts with the “Skin-Prep”
If you talk to any professional makeup artist in the US, they will tell you the same thing: Makeup looks only as good as the skin underneath. If your skin is dry or dehydrated, foundation will cling to patches. If it’s too oily, it might slide off by noon.
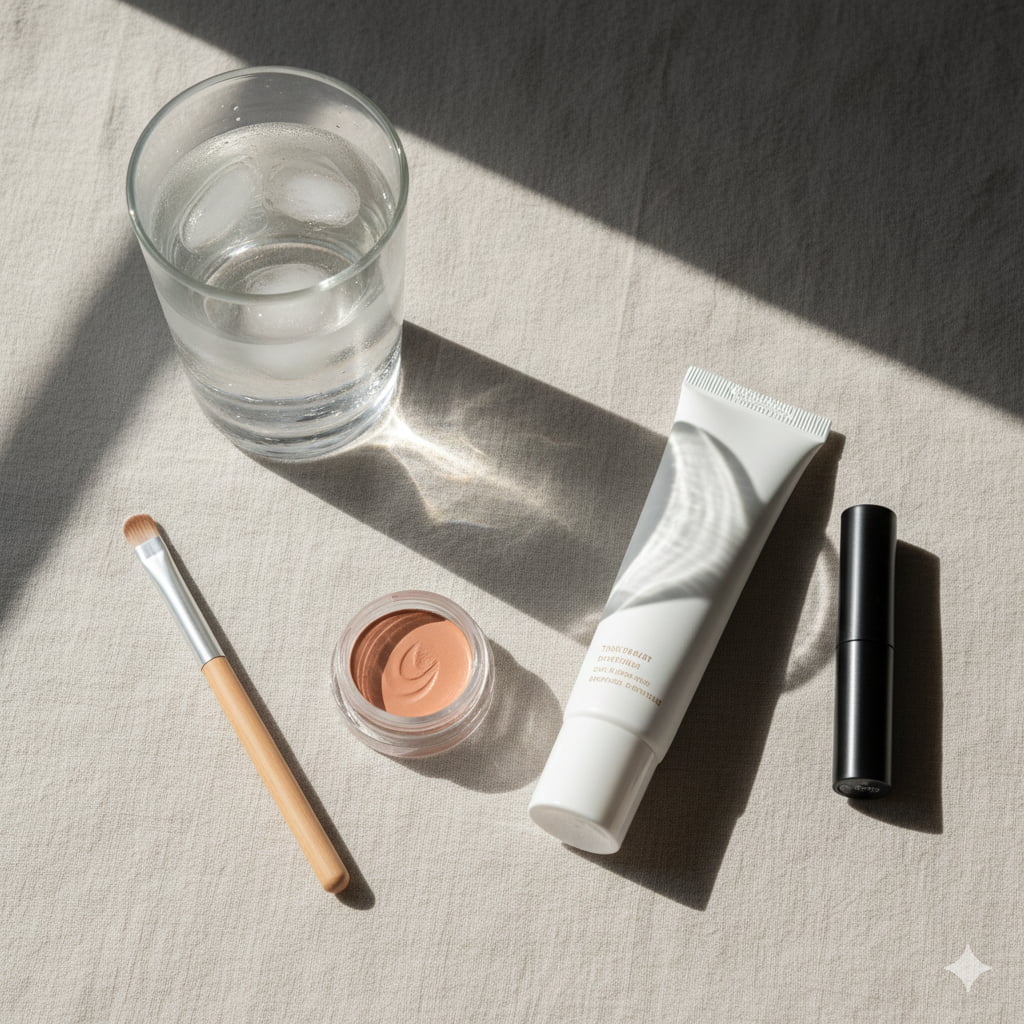
- Hydration is Key: Start with a clean face and a moisturizer that suits your skin type. Think of this as your “primer.”
- The Sunscreen Rule: Never, ever skip SPF. Even if your makeup has it, you need a dedicated layer. According to the Skin Cancer Foundation, daily sunscreen use can significantly reduce skin aging caused by the sun.
- Let it Sink In: Give your skincare 2–3 minutes to absorb before you touch a makeup brush. This prevents “pilling” (those annoying little white balls).
Step 2: Choosing Your Base (Light & Airy)
For an everyday look, we want to move away from “full coverage.” We want people to see your skin, maybe even a few freckles!
- The BB/CC Cream Route: These are perfect for daily wear. They offer a hint of tint and extra hydration.
- The Concealer Trick: If you have pretty clear skin, skip the all-over base. Just use a creamy concealer on your under-eyes and any red spots (like around the nose). Blend it out with your ring finger—the warmth of your skin helps it melt right in.
Quick Reference: Your Everyday Makeup Steps
Here is a simple chart to help you visualize the order and the goal of each step:
| Step | Product | The Main Goal |
| 1. Prep | Moisturizer & SPF | Create a smooth, protected canvas. |
| 2. Base | Tinted Moisturizer | Even out skin tone without hiding it. |
| 3. Conceal | Creamy Concealer | Brighten eyes and hide small spots. |
| 4. Brows | Clear/Tinted Gel | Frame the face and look groomed. |
| 5. Color | Cream Blush | Add a “just went for a walk” healthy flush. |
| 6. Eyes | Brown Mascara | Define lashes while keeping them soft. |
| 7. Lips | Tinted Lip Balm | Add moisture and a soft hint of color. |
Step 3: Framing the Face (Brows)
Brows are the most underrated part of the face. You don’t need to draw them on heavily. Instead, focus on “grooming.”
Use a tinted brow gel. It adds a bit of color and holds the hairs in place. Brush them upwards—this is a classic trick to make your eyes look more “lifted” and awake without using any eyeshadow.
Step 4: Adding Life with Blush
Powder blushes can sometimes look “dusty” in daylight. For a truly natural look, cream blush is your best friend. * Pro Tip: Choose a shade that mimics your natural flush (like after you’ve exercised).
- Application: Dab it onto the apples of your cheeks and blend upwards toward your ears. This gives your face a natural lift and a youthful glow.
Step 5: Soft Eyes & Lashes
We aren’t going for a smokey eye here. We want “bright-eyed and bushy-tailed.”
- Shadow: Use a tiny bit of your bronzer or cream blush in the crease of your eyelid. This ties the whole look together.
- Mascara: One coat of mascara is enough. If you have fair skin or blonde hair, try brown mascara. It defines the lashes without the “harshness” of deep black, making it perfect for the office or school run.
Step 6: The “Your Lips But Better” Finish
Forget the heavy matte lipsticks that dry out your lips. Go for a tinted lip balm or a sheer lip tint. These products are great because you can re-apply them without a mirror, and they keep your lips looking soft and hydrated all day.
Why This Works for Mediavine & US Traffic
When writing for a US-based audience, they value authenticity and efficiency. This article hits those points by:
- Providing real info (SPF importance, cream vs. powder).
- Using a scannable structure (Headers, Bullet points, Table).
- Having a helpful tone that solves a problem (how to look good fast).
Common Myths About Natural Makeup
- “It takes more time than regular makeup”: Not true! Once you get the hang of it, this routine takes less than 8 minutes.
- “You don’t need tools”: While you can use your fingers, a damp beauty sponge is the secret to making everything look like real skin.
- “Oily skin can’t do the dewy look”: You can! Just use a translucent powder only on your T-zone (forehead and nose) and leave your cheeks glowing.
Final Thoughts
A natural and everyday makeup look is about feeling comfortable in your own skin. It’s about taking a few minutes for yourself in the morning to feel polished and ready to take on the world. Don’t be afraid to tweak these steps to fit your unique face—makeup has no rules, only guidelines!
Leave a Reply