We often spend a fortune on the latest “holy grail” foundations and high-end serums, but we tend to ignore the very things that touch our faces every single day: our beauty tools. Whether it’s that fluffy brush you use for bronzer or the damp sponge you use to blend your concealer, these tools are the bridge between your products and your skin.
If you’ve been struggling with mysterious breakouts, skin irritation, or “patchy” makeup that just won’t blend, the problem might not be your skin or your products. It might be the invisible bacteria living inside your brushes.
In this comprehensive guide, we’re diving deep into the world of beauty hygiene. We’ll cover why it matters, how often you should be cleaning your kit, and the safest way to do it without damaging your expensive tools.
Why Hygiene Isn’t Just “Optional”
Think about it: every time you swirl a brush onto your face, it picks up oil, sweat, dead skin cells, and dust from the air. When you dip that same brush back into your makeup, you’re transferring that cocktail of “gunk” into your products.
Over time, this becomes a literal breeding ground for bacteria. According to research cited by the American Academy of Dermatology (AAD), dirty makeup tools can cause:
- Acne Breakouts: Clogged pores from old oil and bacteria.
- Fungal Infections: Especially in damp beauty sponges.
- Staph Infections: Serious skin issues that require medical help.
- Premature Aging: Bacteria can cause oxidative stress on the skin.
The Ultimate Cleaning Schedule
Not every tool needs to be washed every day, but staying on top of a schedule is the only way to protect your skin. Use this chart as your weekly hygiene checklist:
Makeup Tool Maintenance Chart
| Tool Type | Cleaning Frequency | Why? |
| Beauty Sponges | After Every Use | Being damp makes them a magnet for mold and yeast. |
| Foundation/Concealer Brushes | Once a Week | Liquid products get “sticky” and harbor bacteria fast. |
| Powder & Blush Brushes | Every 1-2 Weeks | Dry powders are slightly less prone to bacterial growth. |
| Eyelash Curlers | Once a Week | Prevents eye infections and lash breakage from buildup. |
| Tweezers & Metal Tools | After Every Use | These touch open pores; sanitize with 70% alcohol. |
| Makeup Bags | Once a Month | Dust and spilled product can contaminate your clean tools. |
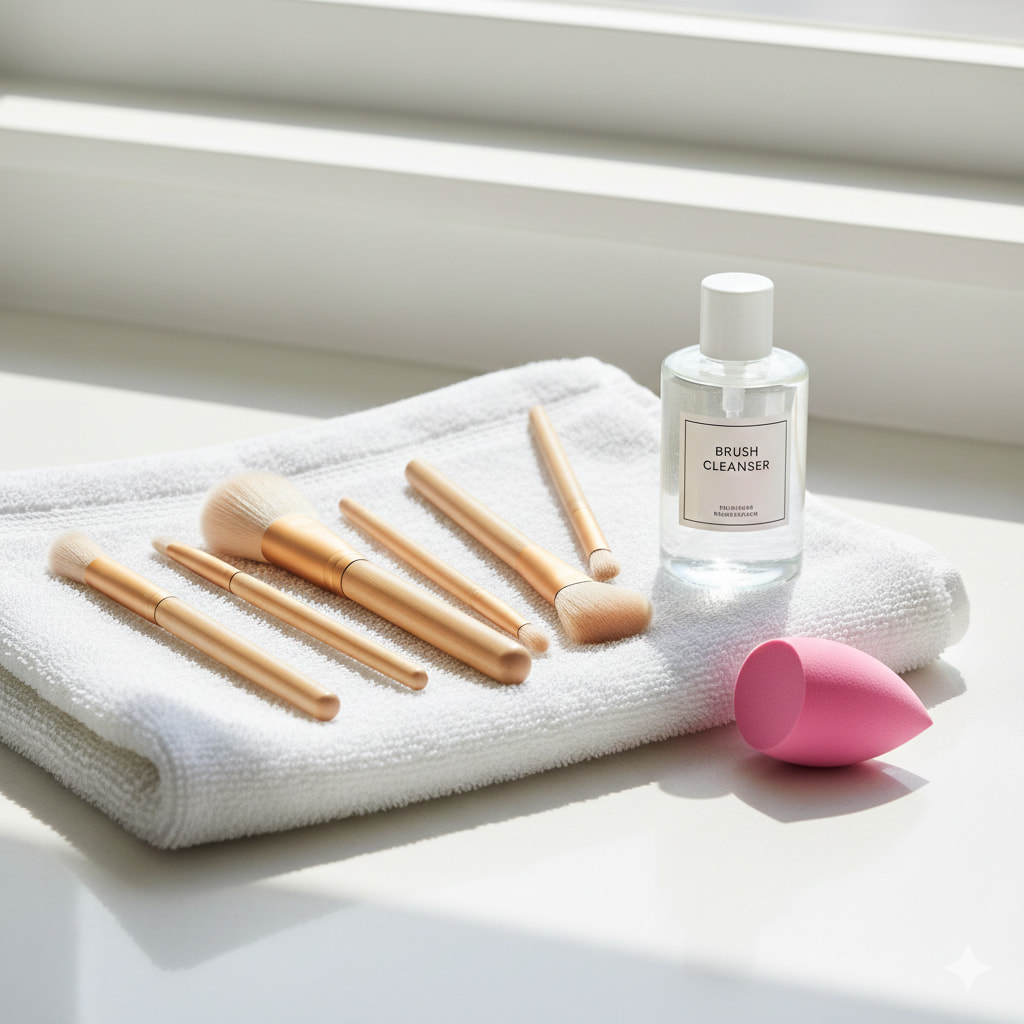
How to Deep Clean Your Brushes (Step-by-Step)
You don’t need to buy the most expensive “brush shampoo” on the market. A gentle, sulfate-free baby shampoo or a solid soap bar (like Dr. Bronner’s) works wonders.
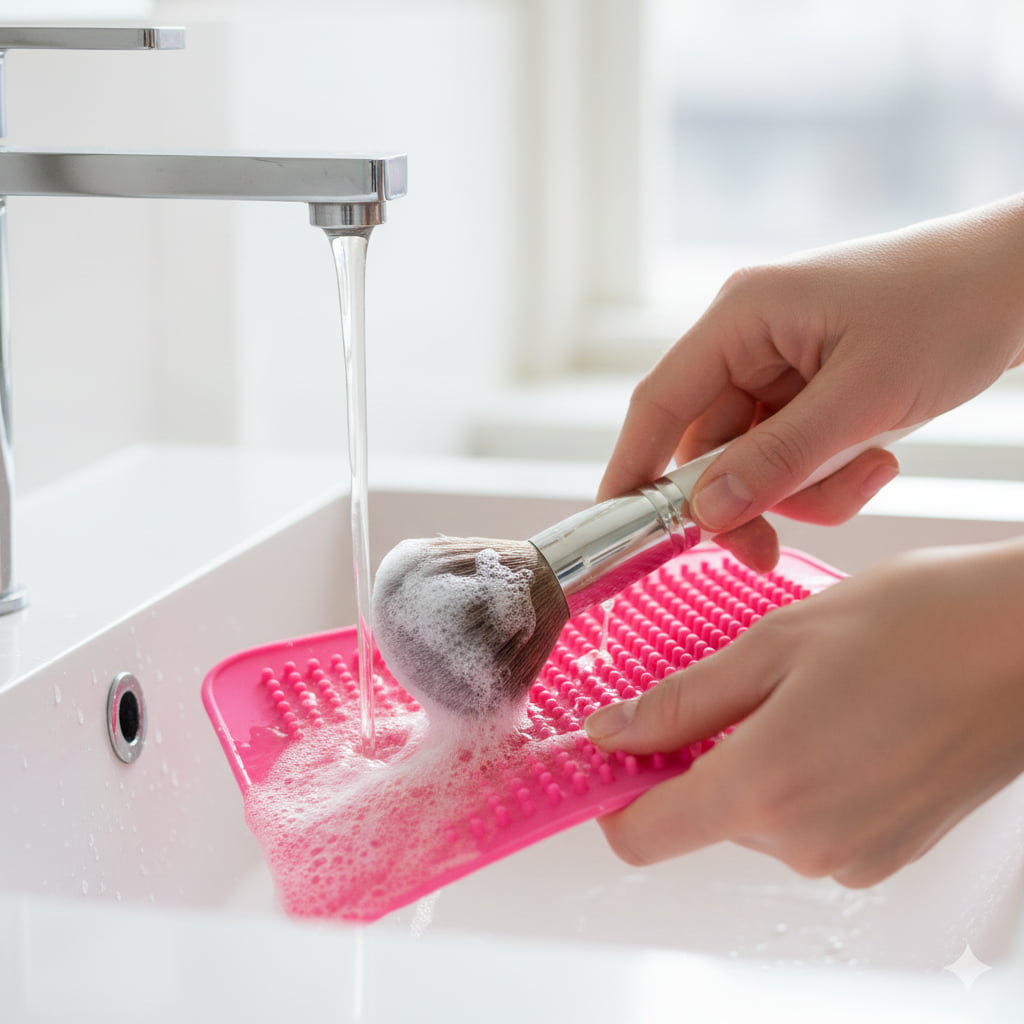
Step 1: The Rinse
Hold your brush under lukewarm running water. Crucial Rule: Always point the bristles down. If water gets into the “ferrule” (the metal part holding the hair), it will rot the wood and dissolve the glue, causing your brush to shed.
Step 2: The Soap
Apply a small amount of cleanser to your palm or a silicone cleaning mat. Swirl the brush in circular motions. You’ll see the old foundation and pigment start to melt away.
Step 3: The Rinse (Again)
Rinse the bristles thoroughly until the water runs completely clear. If it’s still cloudy, repeat Step 2.
Step 4: Reshape and Dry
Squeeze out excess water gently with a clean towel. Reshape the bristles with your fingers so they don’t dry “frizzy.”
The Drying Secret: Never dry brushes standing up. Always lay them flat on a towel over the edge of a counter. This allows air to circulate around the bristles while preventing water from seeping into the handle.
The Danger of the Beauty Sponge
The beauty sponge (or “blender”) is a staple in most US households, but it is the most unhygienic tool if not cared for. Because it is porous and used damp, it stays wet inside for hours.
- Avoid the Microwave: You may have seen “hacks” to microwave your sponge in water. This is risky and can damage the sponge’s material.
- Air it Out: Never store a damp sponge in a closed makeup bag or drawer. It will grow mold. Keep it in a mesh bag or an open-air stand.
- The 3-Month Rule: Even if you wash it daily, a beauty sponge should be replaced every 3 months. The internal structure breaks down over time.
Proper Storage: The Forgotten Step
Where you keep your tools is just as important as how you wash them.
Most of us keep our brushes in the bathroom. However, every time you flush the toilet, tiny particles (aerosols) are released into the air. If your brushes are sitting out on the counter, they are catching those particles.
- Store in Drawers: Keep your tools in a closed drawer or a lidded container.
- Separate Clean from Dirty: Don’t throw your dirty sponges in the same pouch as your clean brushes.
When to Throw a Tool Away
Sometimes, no amount of cleaning can save a tool. You should toss it if:
- The Smell: It has a musty or “sour” odor.
- The Texture: The bristles feel crunchy or stiff even after washing.
- The Shedding: It’s losing clumps of hair every time you use it.
Final Thoughts
Good hygiene is the most “affordable” skincare tip you will ever receive. By spending just 15-20 minutes every Sunday night on a “Deep Clean Ritual,” you are essentially giving yourself a clearer, smoother complexion.
Your makeup will apply more evenly, your tools will last for years, and most importantly, your skin will thank you. Treat your tools with respect, and they’ll do the same for your face!
Leave a Reply