We spend billions of dollars every year on serums, creams, and “miracle” treatments. But have you ever wondered why, despite using expensive products, your skin still feels dry, irritated, or prone to breakouts? The answer usually lies in something you can’t see with the naked eye: your skin barrier.
In the skincare community, “Skin Barrier” has become a buzzword, but it is far more than just a trend. It is your body’s first line of defense. If this barrier is compromised, no amount of expensive Vitamin C or Retinol will give you that “glass skin” look.
In this guide, we’re going to break down the science of the skin barrier in plain English and show you exactly how to protect it every single day.
1. What is the Skin Barrier?
Skin barrier health refers to the outer layer of your skin that protects it from germs, pollution, and moisture loss. It works like a natural shield to keep skin hydrated and strong. Ceramides are natural fats that help hold this barrier together. Strong skin barrier ka matlab hai glowy aur healthy skin.
To understand the skin barrier, we need to look at the top layer of your skin, called the stratum corneum.
Think of your skin as a brick wall.
- The Bricks: These are your skin cells, called corneocytes.
- The Mortar: This is the “glue” that holds the bricks together. It’s made of essential lipids like ceramides, cholesterol, and fatty acids.
When this “brick wall” is sturdy, it does two vital things:
- It keeps the good stuff in: Like water and natural moisture.
- It keeps the bad stuff out: Like pollution, bacteria, and allergens.
When the “mortar” (lipids) starts to crack, moisture escapes—a scientific process known as Transepidermal Water Loss (TEWL). This is when the trouble starts.
2. Why Your Barrier is Struggling: The Common Culprits
Most of us are accidentally “bullying” our skin. In our quest for perfection, we often do too much. Here is why your barrier might be failing:
Over-Exfoliation (The #1 Enemy)
We’ve been told that scrubbing away dead skin is good. But using harsh physical scrubs or high-percentage chemical acids (like Glycolic or Salicylic acid) every single day is like sanding down your brick wall until it’s paper-thin.
Using the Wrong Cleansers
If your face feels “squeaky clean” or tight after washing, your cleanser is too harsh. Most foaming cleansers use sulfates that strip away the “mortar” (lipids) along with the dirt.
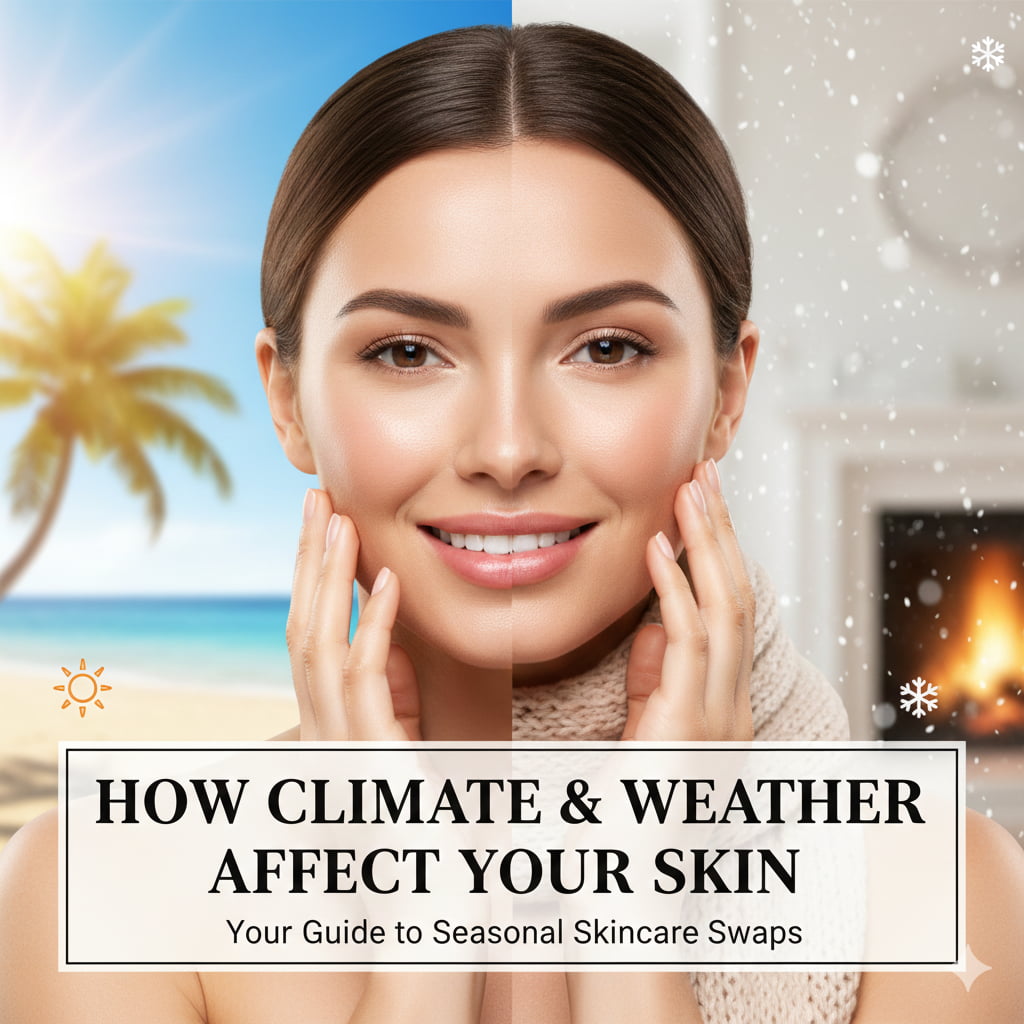
Environmental Stress
Hard water, extreme cold, dry indoor heating, and high pollution levels all put physical stress on your skin. These factors literally suck the moisture out of your cells.
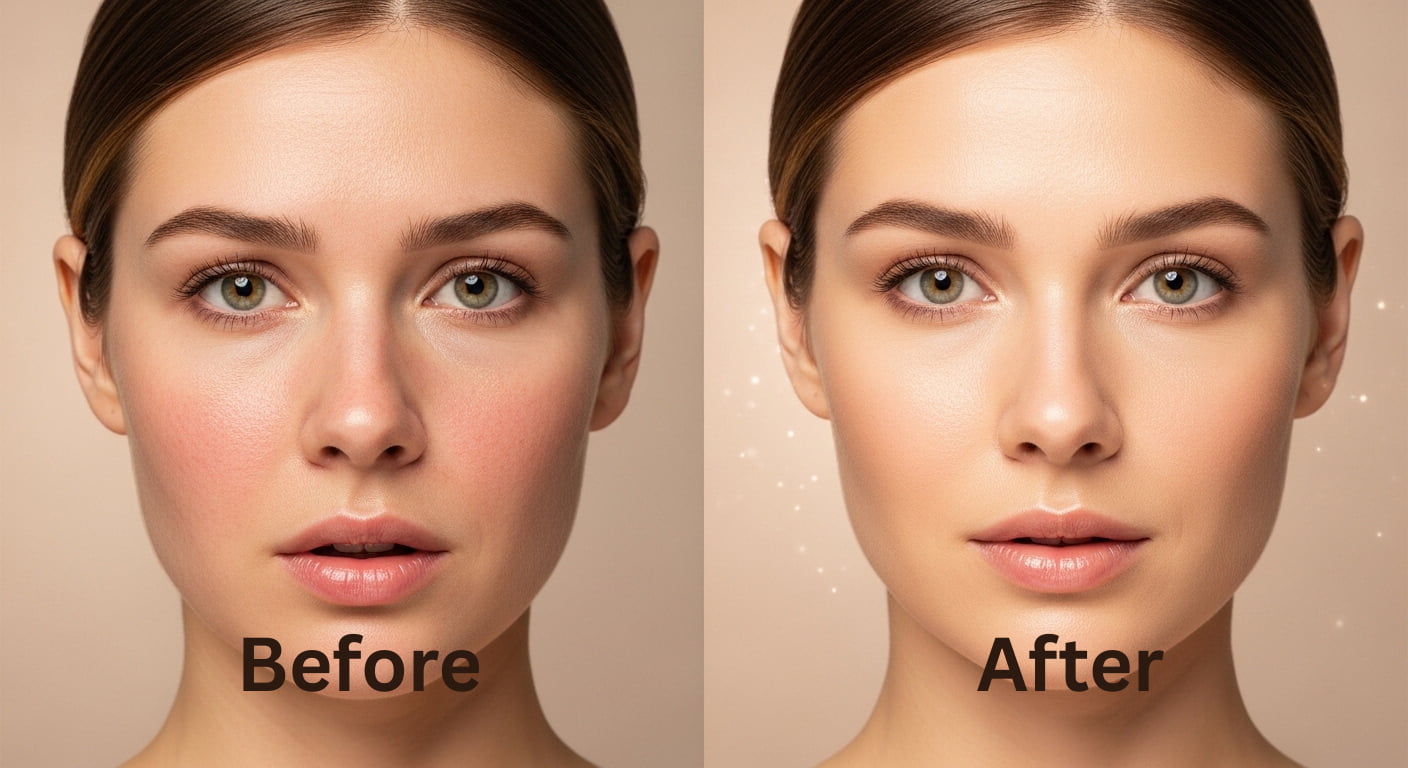
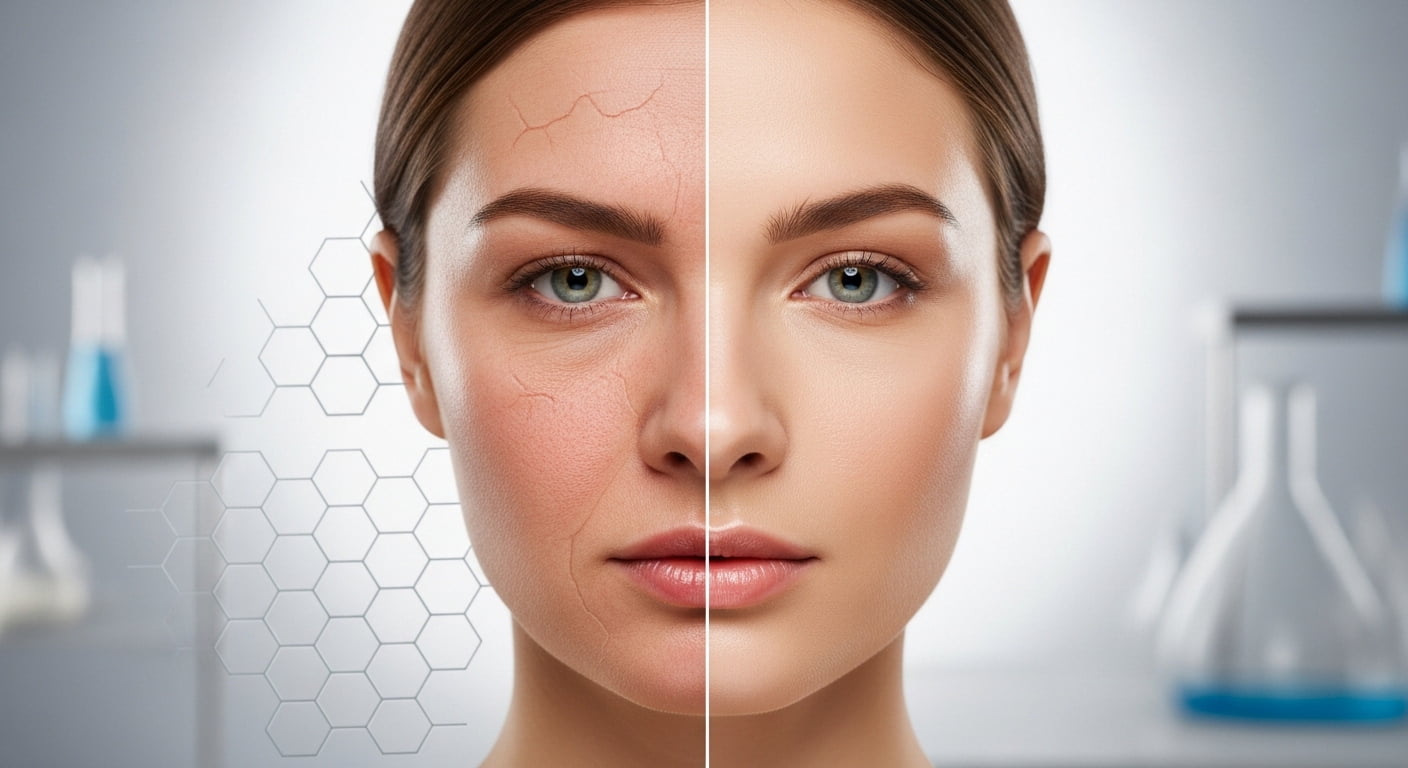
3. How to Tell if Your Skin Barrier is Damaged
Your skin is very good at communicating; you just have to listen. If you experience any of the following, your barrier needs help:
- Sensitivity: Products that used to feel fine now sting or burn.
- Texture: Your skin feels rough, flaky, or “leathery” even after moisturizing.
- Inflammation: Persistent redness that doesn’t go away.
- Breakouts: A sudden increase in acne, especially small bumps that don’t seem like regular pimples.
Quick Comparison: Healthy vs. Damaged Barrier
| Feature | Healthy Skin Barrier | Damaged Skin Barrier |
| Feel | Soft, supple, and bouncy. | Tight, itchy, and sensitive. |
| Look | Even-toned and radiant. | Red, dull, and flaky. |
| Reaction | Absorbs products easily. | Stings when applying moisturizer. |
| Hydration | Holds moisture all day. | Becomes dry within hours of washing. |
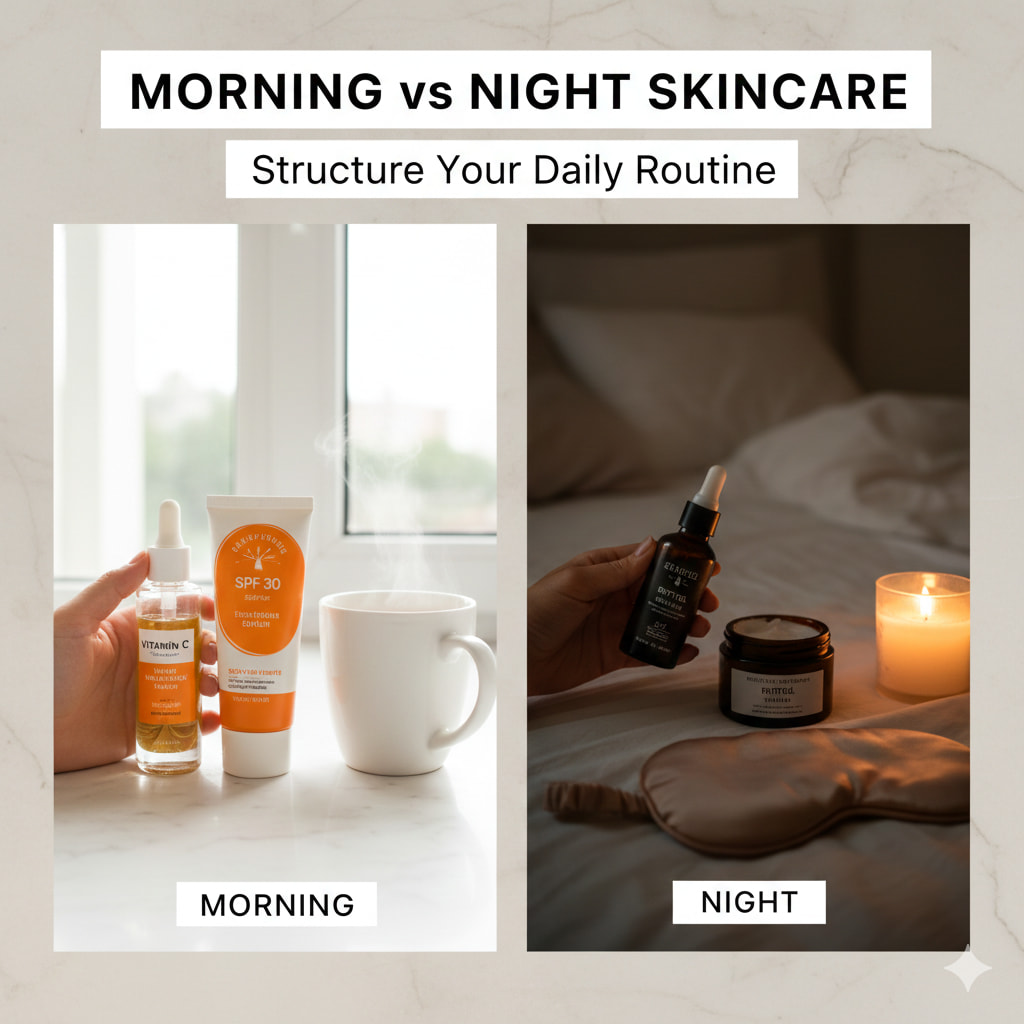
4. The Daily Protection Plan: How to Fix ad Maintain It
Restoring your skin barrier isn’t about buying more products; it’s about buying the right ones and being gentle.
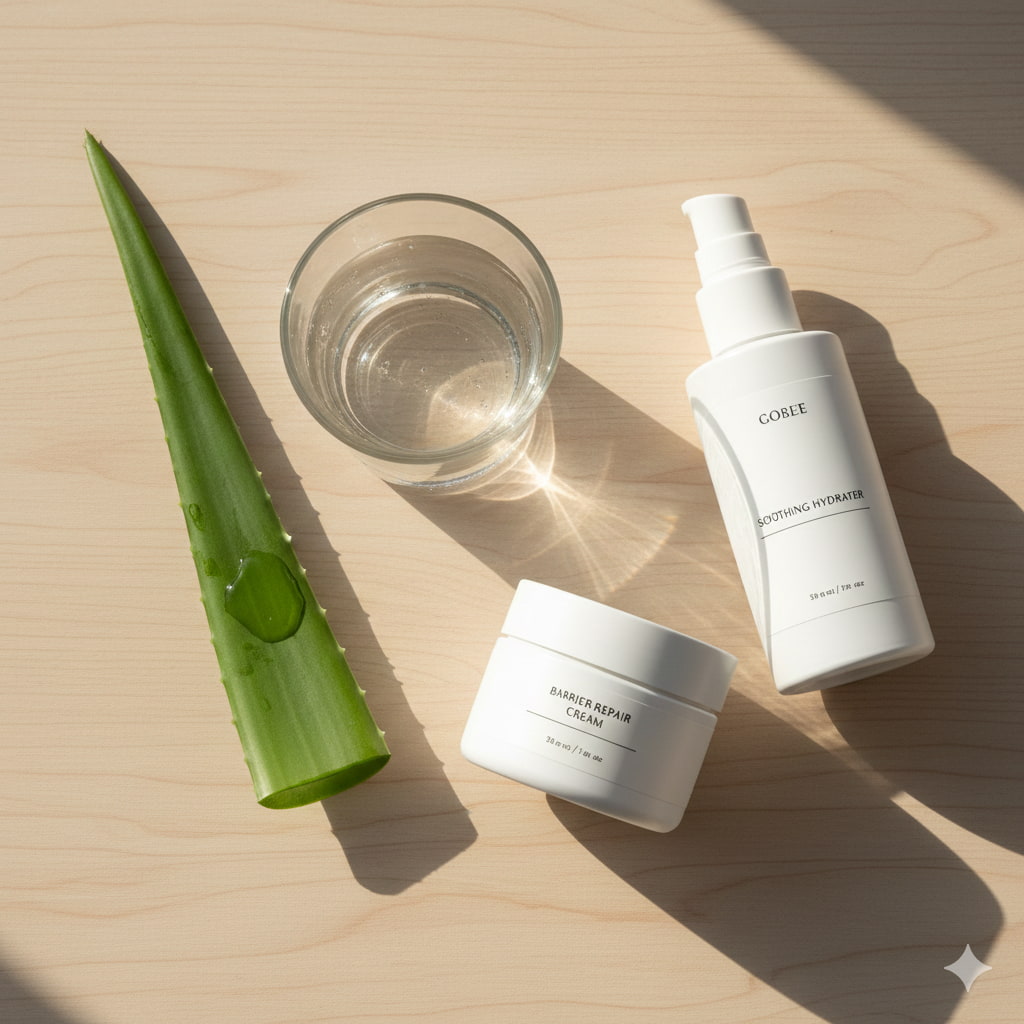
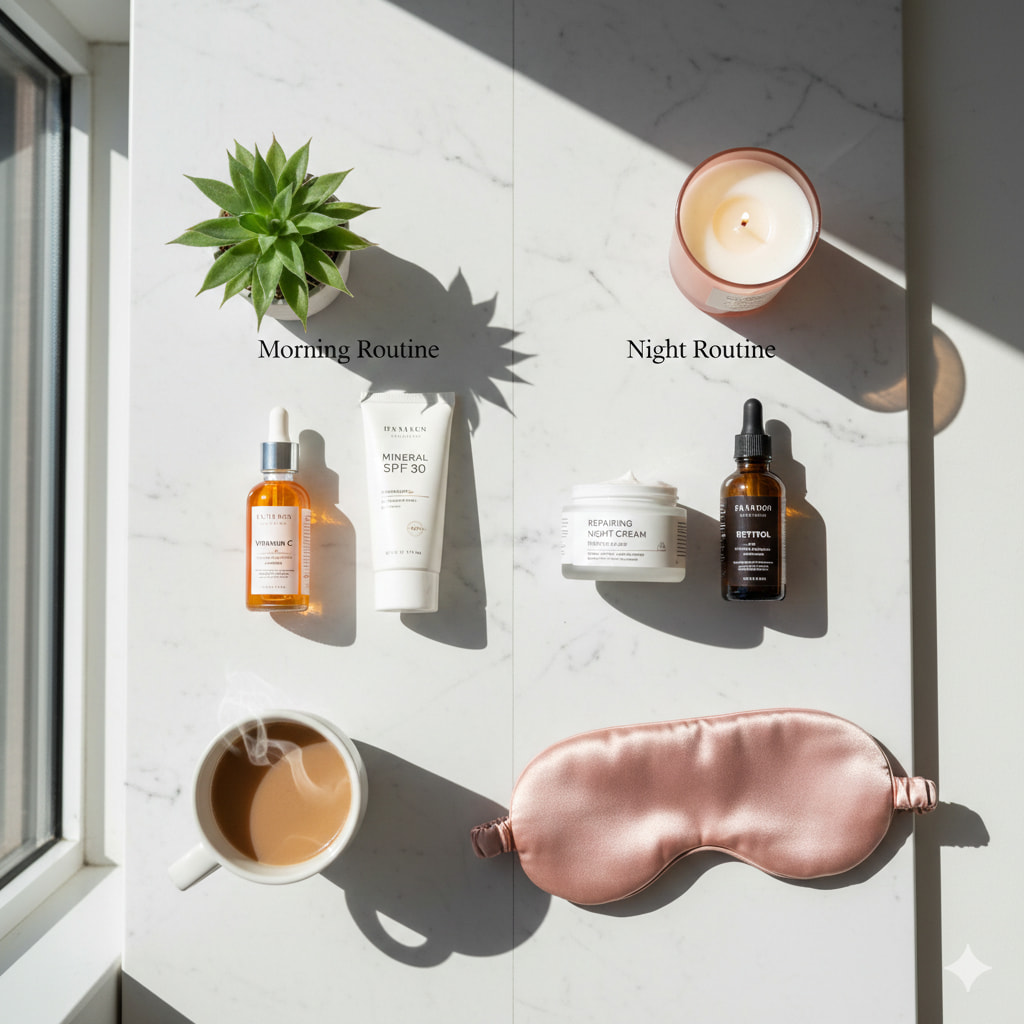
Step 1: The “Back to Basics” Routine
If your skin is irritated, stop all “actives” (Retinol, Vitamin C, AHAs). Stick to a simple:
- Gentle Cleanser: Use a non-foaming, milk-based, or oil-based cleanser.
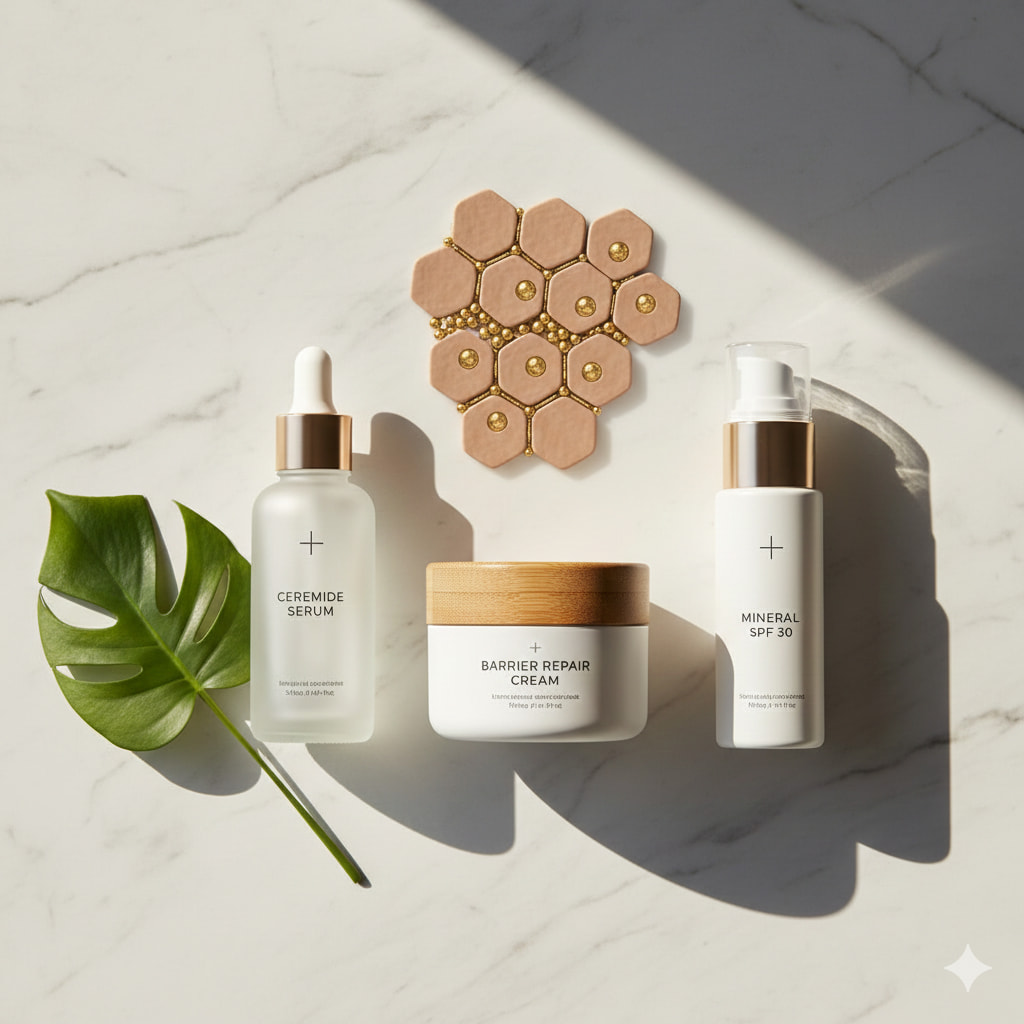
- Barrier-Repair Cream: Look for ingredients like Ceramides, Panthenol (Pro-Vitamin B5), and Niacinamide.
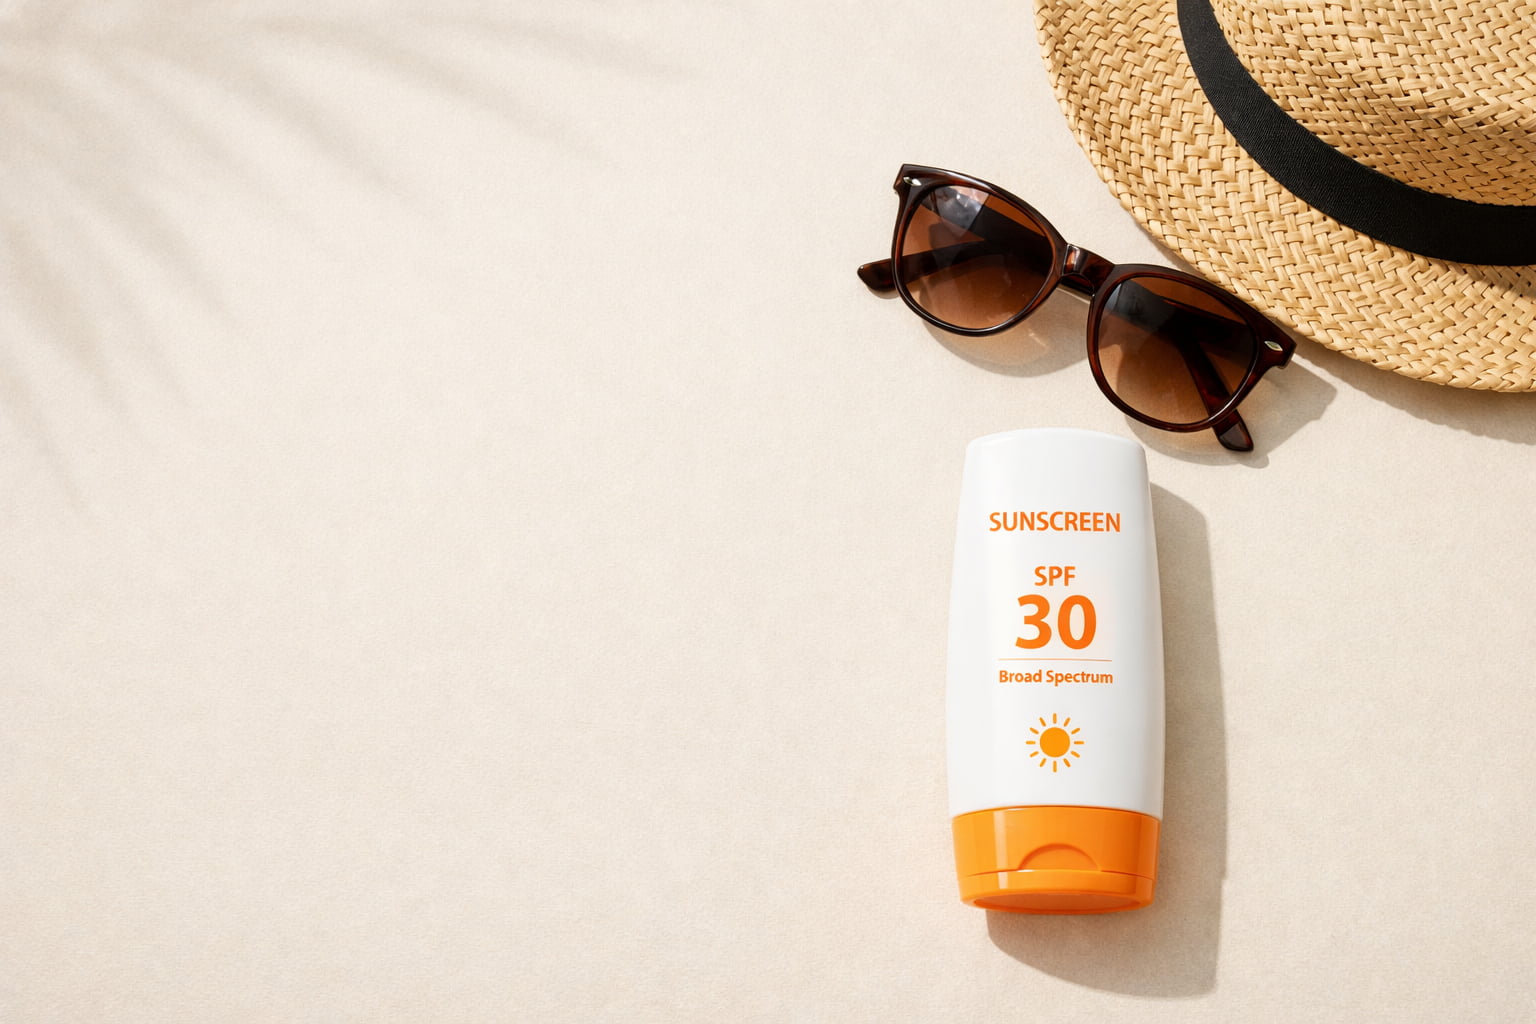
- Sunscreen: Mineral sunscreens (Zinc Oxide) are often less irritating for a damaged barrier.
Step 2: Incorporate Lipid-Rich Ingredients
Your skin barrier is lipids. To fix it, you need to put those lipids back. According to research from the National Institutes of Health (NIH), topical application of ceramides and fatty acids significantly improves skin hydration and barrier function.
Step 3: Use Lukewarm Water
Never wash your face with hot water. Hot water melts the natural oils on your skin, much like it melts grease off a dinner plate. Use lukewarm or cool water instead.
Step 4: Seal it In (Slugging)
For very dry skin, a technique called “slugging” (applying a thin layer of petroleum jelly or a heavy occlusive balm at night) can act as a temporary “fake” barrier, allowing the skin underneath to heal without losing moisture.
5. The Long-Term Science: Why It Matters for Aging
A healthy skin barrier is the best anti-aging “treatment” you can find. When your barrier is strong, your skin is less likely to develop fine lines caused by dehydration. It also prevents chronic inflammation—often called “inflammaging”—which breaks down collagen and elastin over time.
By focusing on protection rather than correction, you are ensuring that your skin remains resilient as you age.
6. Final Thoughts: Be Patient
The skin cell turnover cycle takes about 28 to 45 days. This means you won’t fix a damaged barrier overnight. It takes consistent, gentle care. Stop chasing the “sting” as a sign of efficacy. In skincare, if it hurts, it’s probably hurting your barrier.
Treat your skin like a delicate silk fabric, not a dirty rug that needs scrubbing. Keep it hydrated, keep it shielded, and your natural glow will return on its own.